Last Updated on April 4, 2024 by Admin
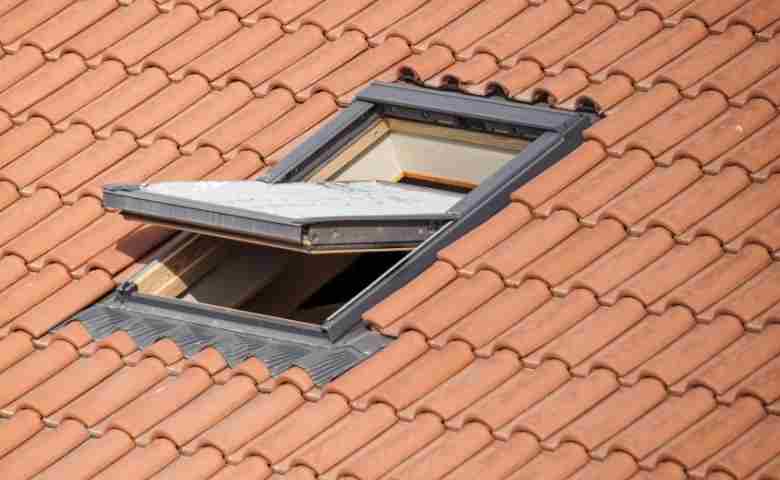
Velux windows are being used widely as a great window for the roof to the point that people call Skylight. Though you may not know this, Velux is actually an abbreviation for the word ventilation. Indeed, it provides both ventilation and an open area for natural light. And as you’re reading this, you might be planning to install a Velux window but have no one to depend on. This led to asking: “Can I install a Velux window by myself?”
ConstructionCareerHub App is LIVE — built ONLY for construction careers. Don’t apply with a weak resume.
Get ATS-ready Resume Lab + Interview Copilot + Campus Placement Prep (resume screening, skill gaps, interview readiness) — in minutes & Other advanced features.
Explore Smarter Construction Career Tools →Quick check. Big impact. Start now.
The answer is yes. But first, you need to understand the whole context before proceeding with an impulsive installation.
What You Should Know Before Installing a Velux Window
- You should ensure the quality of the Velux window that you’re purchasing.
- It would help if you were not careless in choosing placements.
- Do not install when there is expected bad weather.
- Analyze the roof slope before you buy the window.
- Start installing from the inside.
- You should remove the shingles before cutting.
- Use the Velux window opener wisely.
How to Install Velux Window by Yourself?
Step 1: Prepare the Materials
You must first prepare the tools such as the Velux window opener and the space. Then consider removing the window from its wrapping so that you can insert your new roof window. The very last problem you would want to do is destroy the window during installation, so make sure the area you’re operating in is accessible and concise to avoid any mishaps. Once the site has been cleared, you can begin unwrapping. While separating the packaging, place the package on a flat, firm surface. Please note that you also need to remove the sash before installing.
Step 2: Create the Opening
Mark out all the locations for the glass entrance with a pencil and a carpenter’s square. This opening’s width should be 40-60mm broader than the exact VELUX window size. Next, remove the battens or roof felt from the center outwards until you see the roof’s tiles. Once the slabs are viewable, begin cautiously removing them one at a time. After that, carefully install the battens and fit the frame.
Step 3: Secure the Window by Using Velux Window Opener
Replace the sash in the frame, aligning the beveled hinge with frame slots. If the gap is slightly crooked, you could use the tool crowbar to cautiously pull the structure’s edge till the disparity is even. It is now time to eliminate the sash once more. After removing the screws, screw in the screws that were previously left mildly loose. Next, insert 80mm screws into the top brackets before inserting the rafter and the frames. After that, you can proceed to fit the flashing.
Step 4: Vapour Barrier and Tiling
The final step in the setup process is to complete the floor tiles’ all-around frame and configure the vapor barrier. Split the foam gasket just on edge and end with a utility knife. Use an angle grinder to cut tiles to size if necessary. Using the specialized device included in the window kit, insert the vapor barrier into the inner gasket rebate of the frame. After that, you are finished, and you have successfully done the operation.