Last Updated on February 26, 2024 by Admin
Table of Contents
ConstructionCareerHub App is LIVE — built ONLY for construction careers. Don’t apply with a weak resume.
Get ATS-ready Resume Lab + Interview Copilot + Campus Placement Prep (resume screening, skill gaps, interview readiness) — in minutes & Other advanced features.
Explore Smarter Construction Career Tools →Quick check. Big impact. Start now.
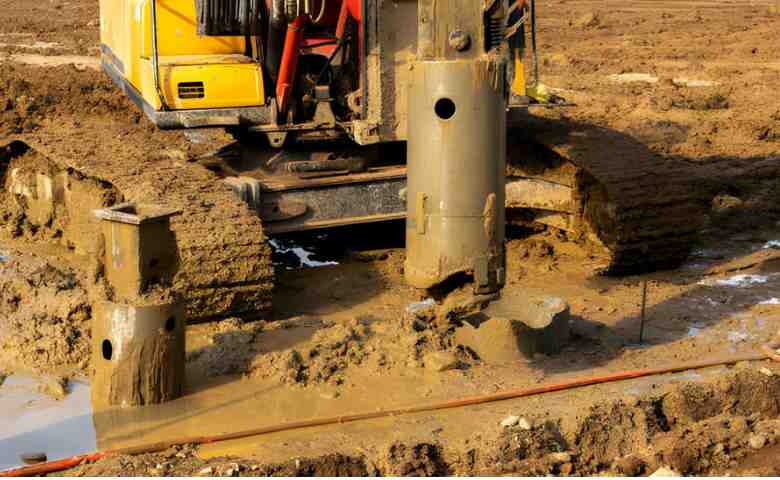
The Process of Mini Piling Installation
Construction of mini piles may require different procedures, depending on the site conditions and chosen method. Nevertheless, some common steps involved in the construction of mini-piling are explained below:
Step 1: The first step is a site survey, where engineers and inspectors perform a thorough site survey to determine the ground conditions and detailed project requirements.
Step 2: The second step is the calculation of load. Based on the deductions and survey results performed in the first step, engineers finalise load calculations to outline the required load-bearing capacity of piles.
Step 3: The next step is designing piles, where the precise and detailed design of mini piles is generated according to the load calculations and soil conditions of the site.
Step 4: The drilling of boreholes according to predetermined dimensions, i.e. diameter and length, is performed in this step once the design is finalised.
Step 5: This step involves stabilising the borehole. To ensure stability, engineers use grout or drilling fluid on the sides of the borehole.
Step 6: The reinforcement bars made of steel are inserted into the borehole to provide support to the pile against adjacent forces.
Step 7: The borehole is filled up with grout after the placement of reinforcement bars. It is used to create a stable bond between the pile and the surrounding soil.
Step 8: Curing is the most crucial step after the piles are ready. To ensure maximum strength, they are required to be adequately cured for 4 weeks.
Step 9: After the pile is properly cured the last step is testing the stability of the pile to ensure they are ready to bear the loads of the building.
Applications of Utilising Mini Piling
Some of the applications attached to using mini piling for your project include
Firm Foundation:
Mini piles are used to strengthen the building foundations in limited accessed places to support the stability and load distribution of the foundation.
Underpinning:
Mini piles are utilised to provide support to settling structures through additional assistance to existing foundations.
Maintain Walls and Slopes:
Mini piles preserve the retaining walls and slopes and provide support in stopping erosion and potential collapse.
Anchors:
Mini piles act as an anchor of the building by stopping the lateral movement in structures like retaining walls and bridge ends.
Recovering:
Mini piles reinforce the damaged foundations and improve the load-bearing capacity and structural robustness.
Congested Places Construction:
Mini piles are an ideal solution for the construction of foundations in congested areas where low noise and limited space demand smaller equipment.
Restoring History:
Mini piles provide unremarkable support to the foundations when used in preserving historic structures during the restoration process.
Waterfront Structures:
Mini piles are also used for docks, piers, and waterfront buildings and provide assistance in resisting water-related forces.
Interim Foundations:
Mini piles also facilitate stable foundations for temporary constructed structures, such as construction equipment and framework.
Rebuilding and Makeover:
Mini piles are designed to provide support to the foundations during renovations of the structure to bear additional loads from modifications.
Accessibility:
Mini piles are considered a multipurpose solution for areas with limited access or distant locations. It facilitates stability and accessibility to hard-to-reach areas.
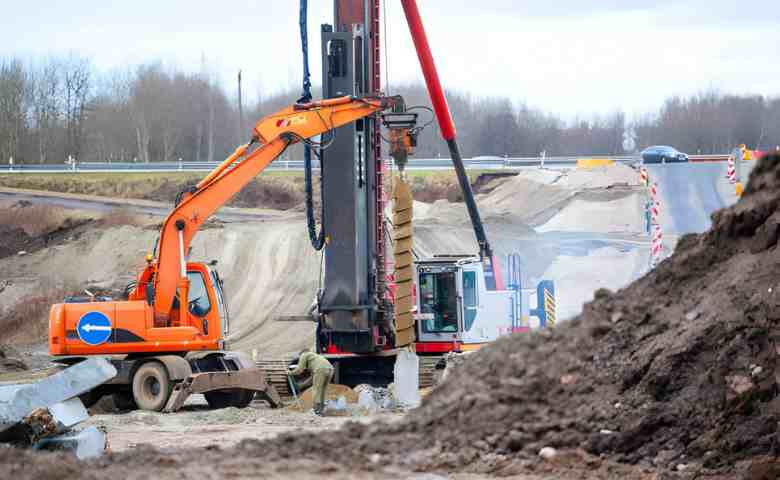
Different Installation Techniques of Mini Piling
Mini piling is performed by utilising several techniques depending on the condition and requirements of the project. These techniques include:
Continuous Flight Auger (CFA) Piling:
The CFA piling technique has been used in the UK since 1966. They are constructed by boring a hollow-stem auger into the ground, which will create a hole according to the diameter of the pile. Then, the concrete pump is used to transfer concrete to the pile through the hollow auger stem. The average diameter of the pile is around 300mm to 1.2 m, with an approximate length of 36m and rig weight of 11t to 160t.
Steel Cased Driven (SCD) Piling:
As the name suggests, SCD or bottom-driven piles are installed using a vibrating mole or drop hammer rig, which drills down the steel casings into the ground, which will protect it from water damage. It is then filled up with concrete to provide stablility to the foundations. This technique is primarily used in unstable grounds or areas with high water tables. It has an average length of 2m to 6m.
Bored piling:
Using a bored piling for your project is a two-step process, which includes boring and construction. In the boring phase, as the name suggests, the shaft is bored into the ground with the required diameter and depth. Then, in the construction phase, the bored hole is filled with concrete, which creates a stable pile for the foundation. It is mainly used in areas where low vibration is required, and there is low headroom.
Related Posts:
- Mastering the Basics: Foundation Civil Engineering Explained
- The Essential Guide to Footing in Building Construction
- 10 Tools to Resolve the Plumbing Problems
- What is Geosynthetics and its application in Civil Engineering?