Last Updated on April 23, 2026 by Admin
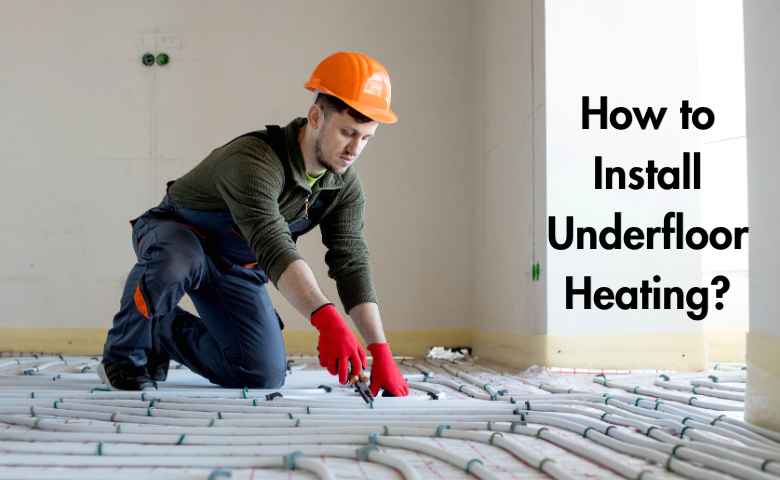
Underfloor heating is an efficient and comfortable way to heat a house, as it provides a pleasant, even warmth without the need for large radiators and visible heating units. It operates by evenly distributing the heat throughout the entire floor area, making the rooms feel warmer at a lower temperature and increasing efficiency in terms of energy consumption.
ConstructionCareerHub App is LIVE — built ONLY for construction careers. Don’t apply with a weak resume.
Get ATS-ready Resume Lab + Interview Copilot + Campus Placement Prep (resume screening, skill gaps, interview readiness) — in minutes & Other advanced features.
Explore Smarter Construction Career Tools →Quick check. Big impact. Start now.
Underfloor heating systems are usually fitted in bathrooms, kitchens, and living rooms; however, underfloor heating systems can be fitted in an entire house these days. Professional installation is usually encouraged; however, it is the knowledge of the process to install that enables the homeowner to plan adequately, manage the prices, and prevent errors.
Table of Contents
Planning and Preparation
Underfloor heating installation should be properly planned to be successful. At this stage, accurate cost planning becomes important, and using construction estimation helps homeowners evaluate material quantities, labor needs, and overall budget requirements before installation begins.
Check Floor Structure
Make sure that your floor is underfloor heating-friendly. Timber and concrete floors can both be used, but the installation process will differ.
Measure the Area
Proper measurements are used to ascertain the quantity of heating cable, mats, or piping needed. Heating should not be installed below fixed appliances or furniture.
Choose the Right Flooring
Flooring material does not all work well with underfloor heating.
Compatible flooring includes:
- Best heat transfer on tile and stone.
- Engineered wood
- Vinyl and laminate (check manufacturer ratings).
- Thick carpets and hardwood that is solid hardwood might decrease efficiency.
For precise material planning and to avoid wastage, many professionals rely on flooring takeoff services to calculate exact flooring quantities.
Types of Underfloor Heating Systems
The correct type of system to use in the home should be selected before installation.
Electric Underfloor Heating
Electric systems involve the use of heating cables or mats that are placed beneath the floor covering.
Best for:
- Little spaces such as bathrooms and kitchens.
- Renovation projects
- Houses that do not have central heating improvements.
Advantages:
- Easier and faster to install
- Lower upfront cost
- Little improvement in floor height.
Disadvantages:
- The cost of running is higher than that of water systems.
- Not so suitable in large areas.
Water-Based (Hydronic) Underfloor Heating
This system involves the use of warm water in pipes that are linked to a boiler or a heat pump.
Best for:
- New builds
- Whole-house heating
- Energy-efficient homes
Advantages:
- Lower running costs
- Works well with heat pumps
- Long lifespan
Disadvantages:
- Higher installation cost
- More complex installation
Installing Electric Underfloor Heating
Electric systems have been favored in DIY friendly installations.
Step 1: Prepare the Subfloor
The subfloor has to be level, dry, and clean. Install insulation boards to avoid loss of heat and ensure efficiency.
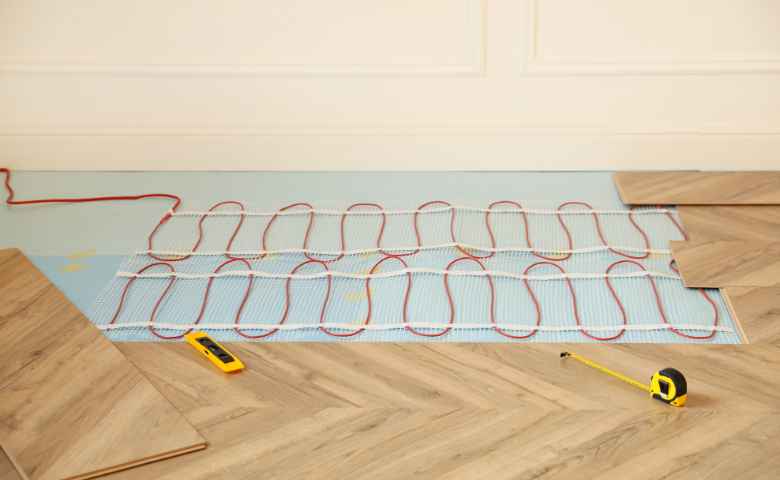
Step 2: Lay Heating Mats or Cables
Install the heating mat or lay out cables as per the layout plan. Keep separation and space between wires.
Step 3: Fit the Floor Sensor
Install the temperature sensor between the heating wires and carry it to where the thermostat is installed.
Step 4: Electrical Connection
An electrician should also be able to install the system to the power supply and thermostat. This is a necessary precautionary measure that is required by code.
Step 5: Flooring, covering, and laying
Install the final floor cover and apply a self-leveling compound when necessary.
Installing Water-Based Underfloor Heating
Hydronic systems have professional-level planning and installation.
Step 1: Installation of Insulation and Pipe Panels
The subfloor is provided with high-quality insulation, minimizing the loss of heat. The pipes are fixed by pipe panels or fixing systems.
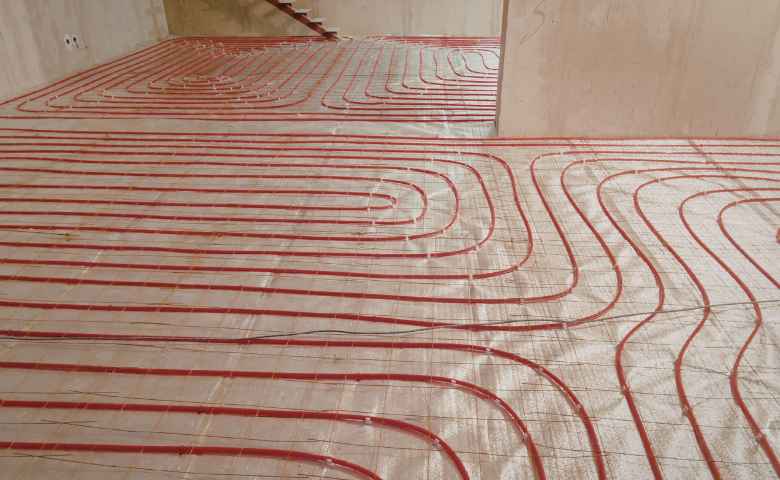
Step 2: Lay the Pipes
Pipes are installed in a serpentine or spiral form to allow equal distribution of heat. The normal spacing is between 100 and 200 mm.
Step 3: Connect to Manifold
All of the pipes lead to one central manifold that regulates the water flow and temperature to each of the zones.
Step 4: Pressure Testing
To cover the system, they test the pressure before handing over the system to make sure that no leakages are present.
Step 5: Flooring
The pipes are incorporated in screed or laid beneath floating floors until the ultimate flooring is in place.
Thermostats and Controls
The current-day underfloor heating system employs smart or programmable thermostats.
Benefits include:
- Accurate temperature regulation.
- Individual room zoned heating.
- Improved energy efficiency
Smart thermostats can be controlled using mobile apps.
Safety and Building Regulations
The underground heating system should meet the local building standards.
- Certified electricians are needed for electrical systems.
- The plumbing regulations should be met in terms of water systems.
- There should be adherence to insulation standards.
Lack of compliance may lead to a risk of safety or canceled warranties.
Common Installation Mistakes to Avoid
- Skipping insulation layers
- Heating pipes and heating cable overlap.
- Installation of under-fixed furniture heating.
- Improper positioning of the thermostat.
- Failure to pressure-test hydronic systems.
These errors can be avoided to enhance the performance of the system and its durability.
Cost Considerations
Installation is different and depends on the type of system and the size of the room.
- Electric floor heating: $10-20/Sq.ft.
- Water systems: $15- 30/ sq. ft.
Although hydronic systems are more expensive initially, they are less expensive in the long term.
Maintenance and Longevity
The underfloor heating systems do not demand much maintenance.
- Electric systems: Practically maintenance-free.
- Hydronic systems: Performed regularly, pumps and manifolds inspections.
Systems can last 20-30 years with proper installation.
Conclusion
Underfloor heating is a strong option for improving comfort, energy efficiency, and overall property value. Although the initial cost can be higher than that of traditional heating systems, proper planning can significantly reduce expenses and ensure long-term savings. Using residential estimating services for cost-reducing planning, budgeting, and material estimation plays a crucial role in avoiding unnecessary expenses.
Whether choosing an electric or water-based system, good insulation and professional guidance are key to success. Electric systems are ideal for smaller spaces and renovations due to their lower upfront cost, while hydronic systems are better suited for larger homes and offer better efficiency over time.
FAQs
Can underfloor heating be installed in existing homes?
Yes, whether using electric or water-based systems can be installed in existing homes through proper planning.
How long does installation take?
Electric systems can be completed in 1-2 days, whereas hydronic systems can be completed in a few days.
Is underfloor heating expensive to run?
Good insulation combined with it often makes it more energy-saving than traditional radiators.
Related Posts
- What is Floor Screed? | Why is it compatible with UFH Systems?
- Liability Coverage | Contractors Liability
- Turning Old Homes Into Smart Homes
- The Ultimate Guide to Finding a Heating and Cooling Technician
- Innovations and Trends in the Heating and Cooling Industry